|
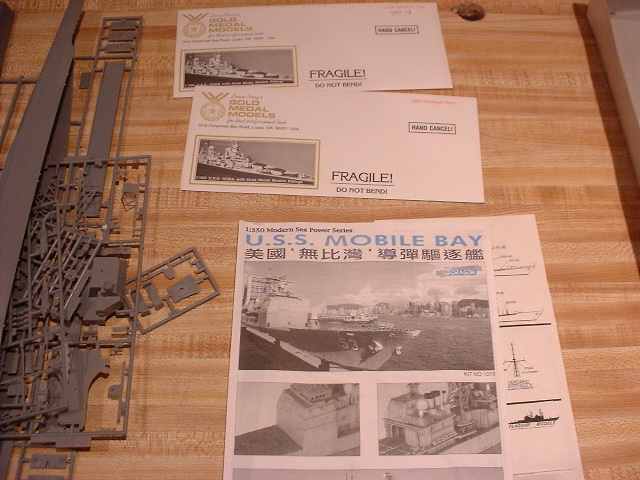
(above) The kits instructions sheet layed out.
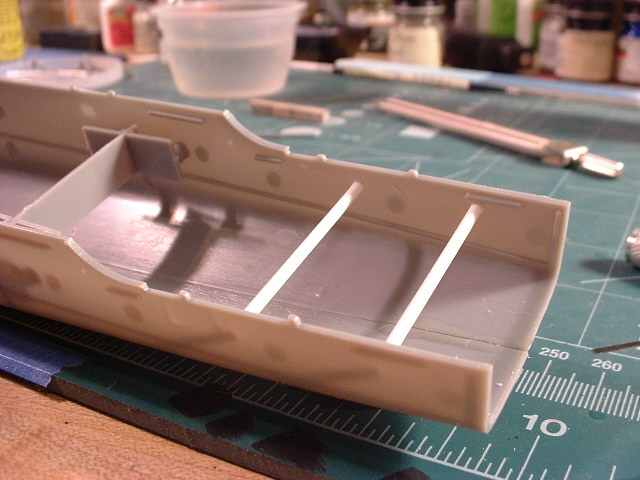
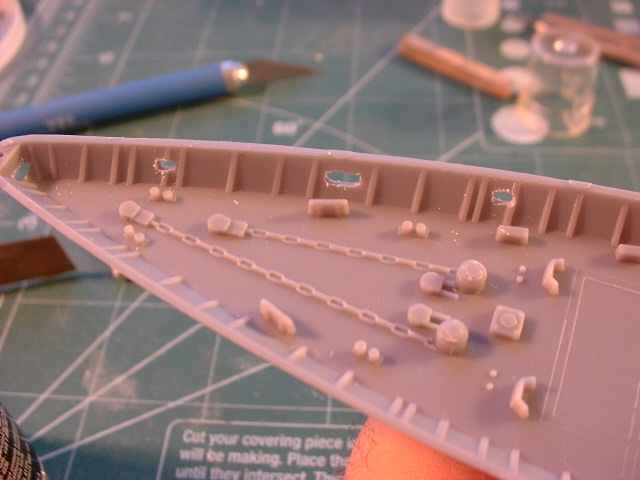
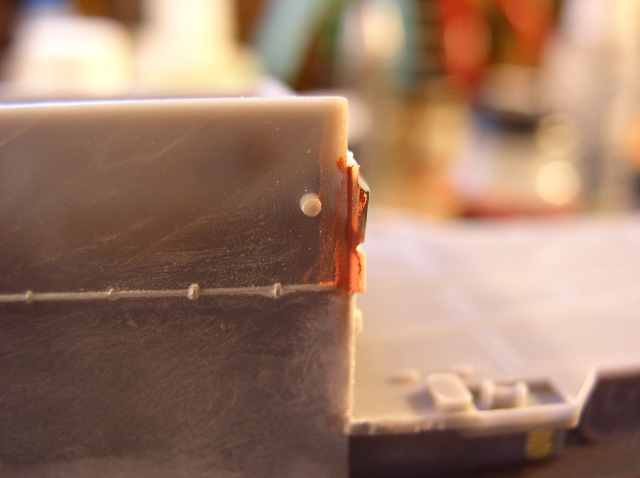
(below) Additional stiffners being added to support the hull sides. The kits comes with ones you add in, but you'll need to add a little more for more support, as the sides are a bit flimsy when you add the deck surfaces.
(below) Here i've added the photo etch water tight doors and fire hose.
(below) Here I'm doing each of these stages in sub-assemblies.
|
|
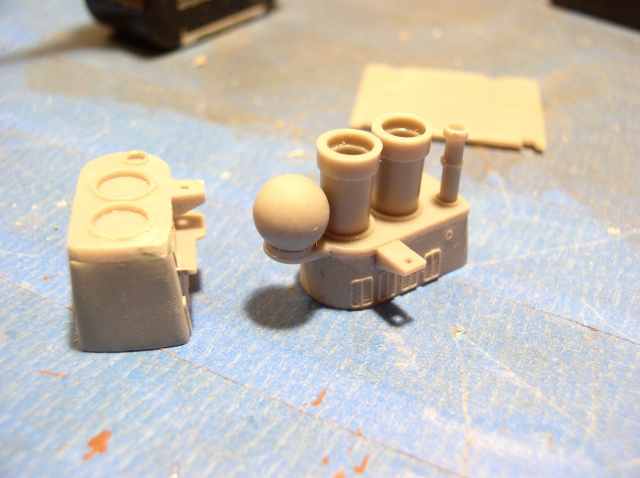
| SPY1 radar and superstructure |
(below) Here im cutting out the windows.
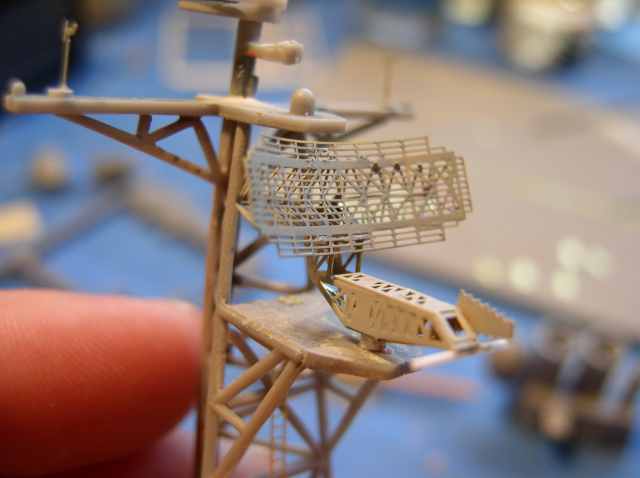
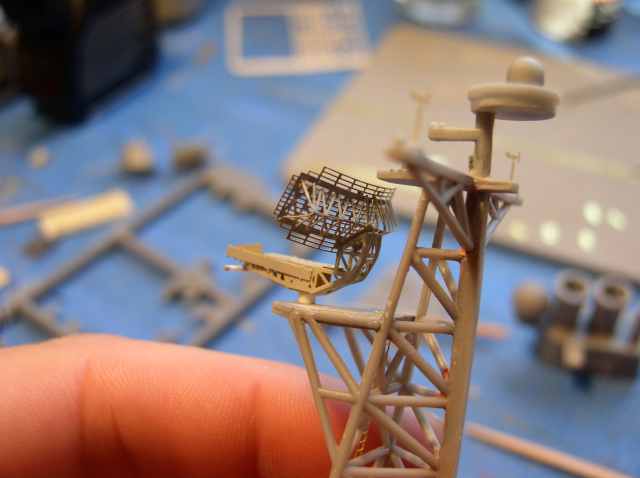
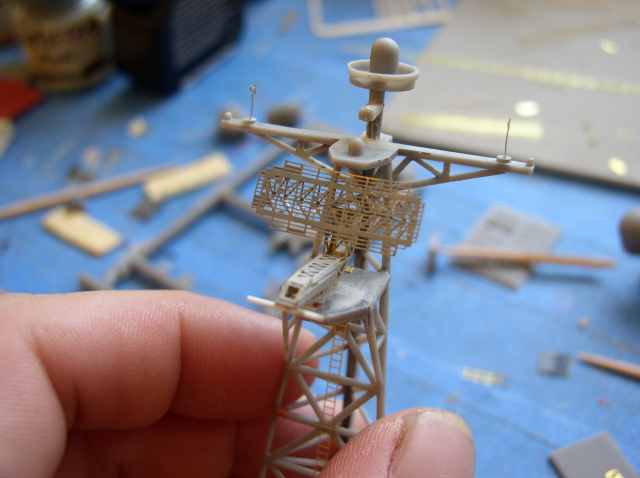
(below) The photo's below show the SPS-49 radar now put together and in place. this was no easy task putting this Photo etch piece together.
|  |
|
(below) The kits propellar shafts were all bent with alot of flash, so I had to make new ones out of small diameter aluminum tubing. This helped the look much better.
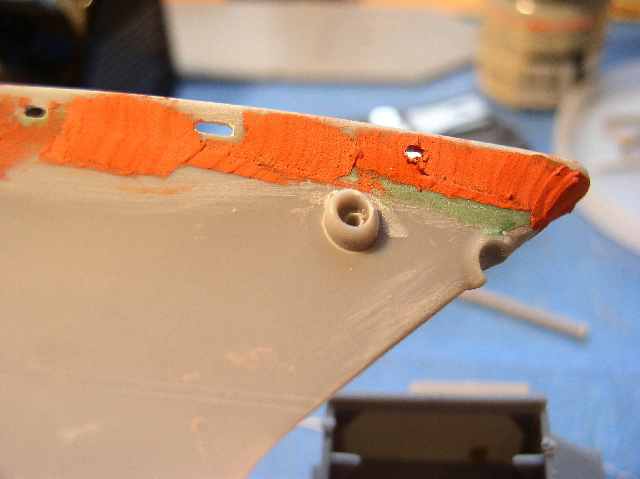
(below) The two photo's below, show how the upper bow decking goes on. Filler putty was needed here as there was a bad gap.
(below) Here is the rear helo deck now in place.
(below) The fit was less desirable in this area along the bulkhead, so I had to use some thinned down Squadron putty to fill the gap.
(below) The windows cut out with the PE water tight door added. I will add micro-krstal klear for the windows later.
(below) The right side of the ship
|
| |
|
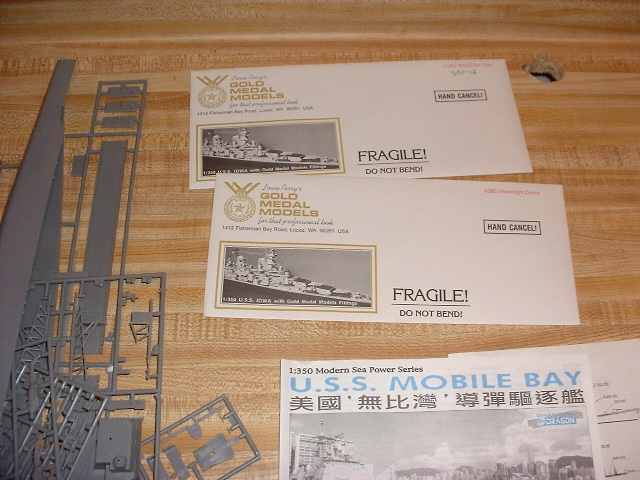
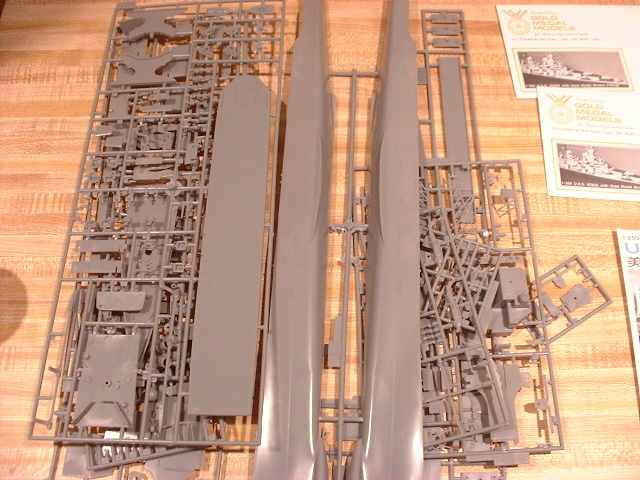
(above) The kit parts layed out.
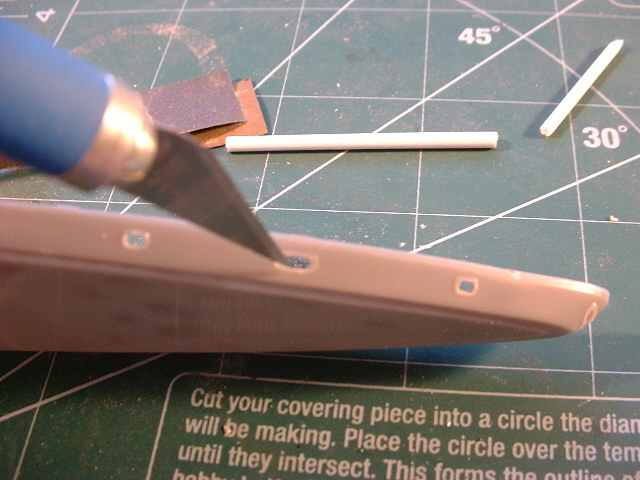
(below) Here i'm having to drill and carve out the guide-on's, as they are molded solid on the front bow deck.
(below) Here I'm cutting out the bridge windows. I'm using the PhotoEtch from the New Jersey Battleship kit, as the Gold Medal Models does not make any for these Kits.
(below) Another problem area where I had to use filler putty.
|
|
|
|