The Work Bench

Home

USS Elliot Spruance class destroyer
The workbench
Various German Flak guns
Armor
M4 Sherman tank (early production)
MI51A2 FORD MUTT
TBF Avenger
EA-6A Intruder
The Navy ship(s)
F6F-3 Hellcat
F-51D Mustang
P-47 THUNDERBOLT
Helicopters
HH 60-D Nighthawk
AH-1S Cobra
AH-64 Apache
Finished models
Psycho House (Bates mansion) not so military related.
M4 Sherman tank (early production)

10.jpg

This is the very latest project ive just started. The M4 Sherman Tank. Its the 1/35 scale Tamiya kit. It has excellent molding and detail to it. Im adding the Verlinden Sherman update and also the Verlinden Sherman Interior to it. Like all Verlinden Resin, it is excellent!! There were no problems at all with this.

The only real problem I had with the kit was the fenders, and getting them to fit properly. I had to boil some water, hold the fenders in the water, then slowly bend them to the right angle.

All other modeling details and what ive done will be called out with the pictures.

Click the pics to enlarge

click for larger picture

click for larger picture

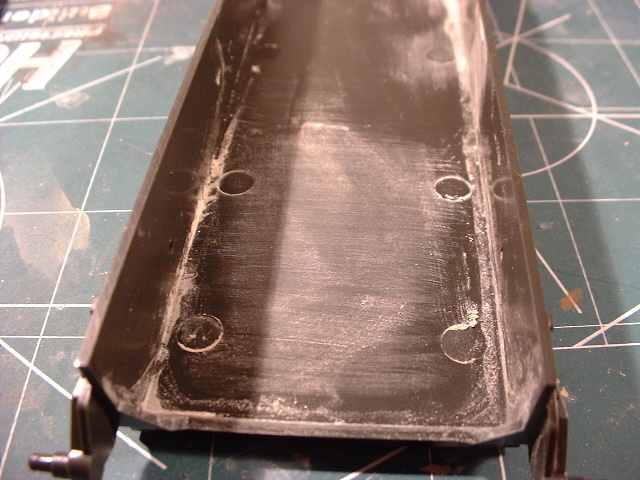
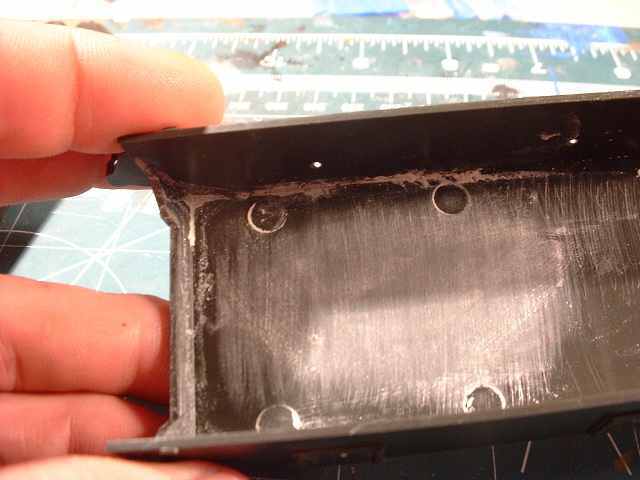
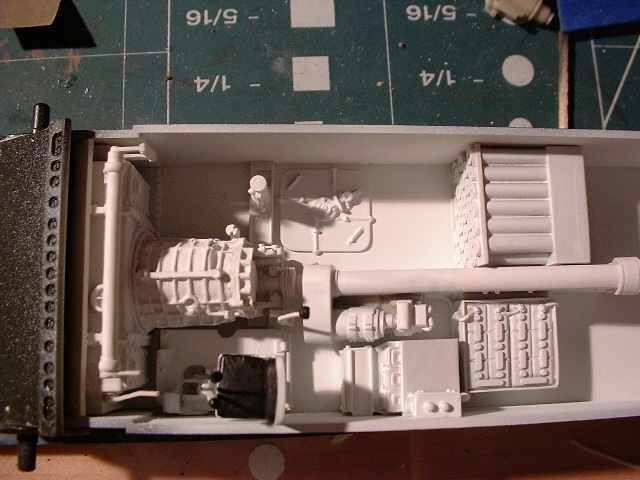
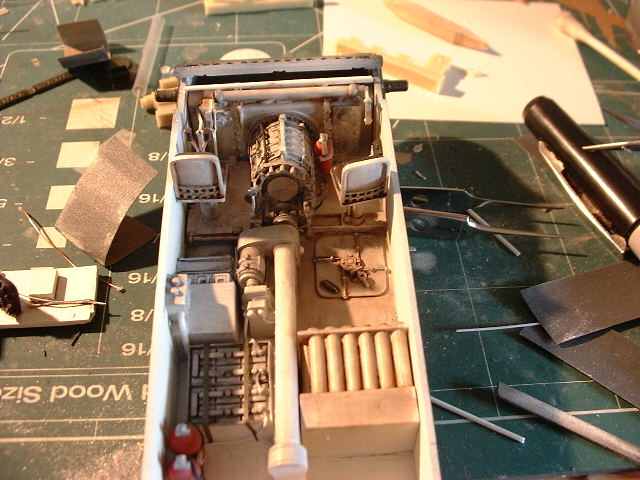
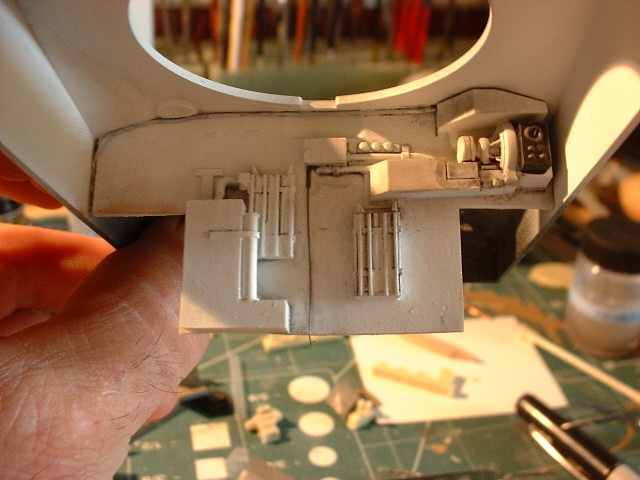
Here Ive sanded the ejection pin holes smooth. As the resin interior will be added here

click for larger picture

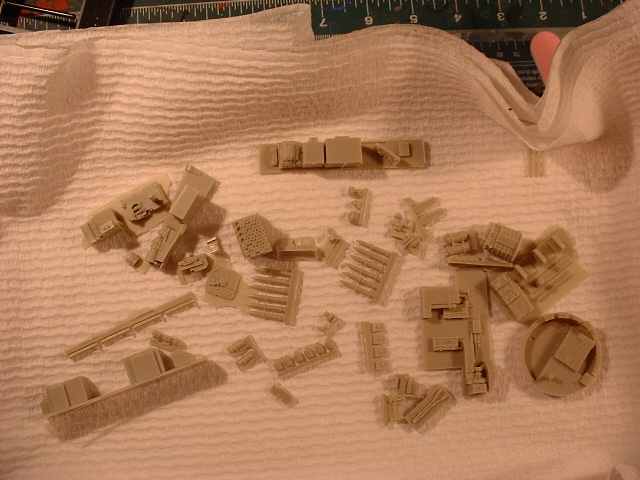
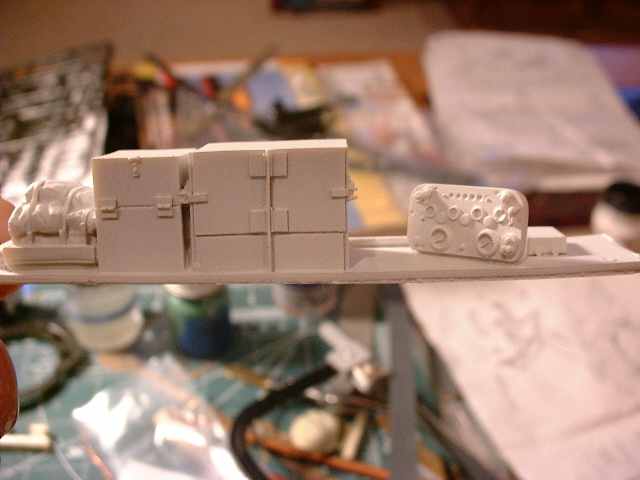
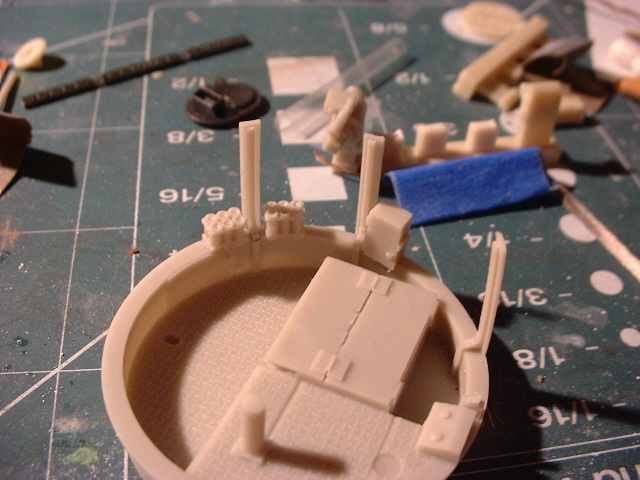
Here the resin parts are layed out drying after washing them.

click to enlarge

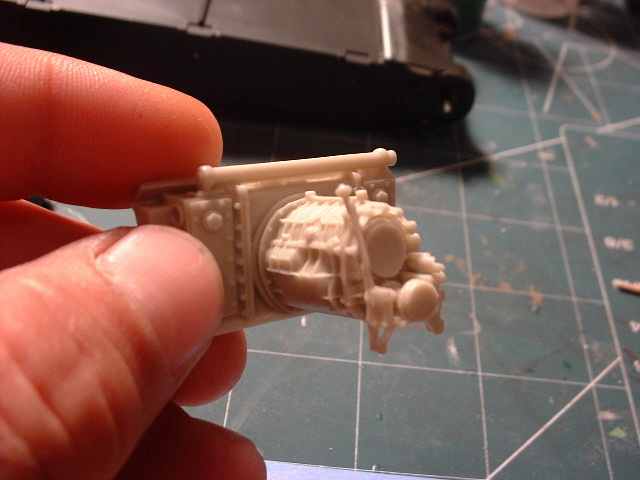
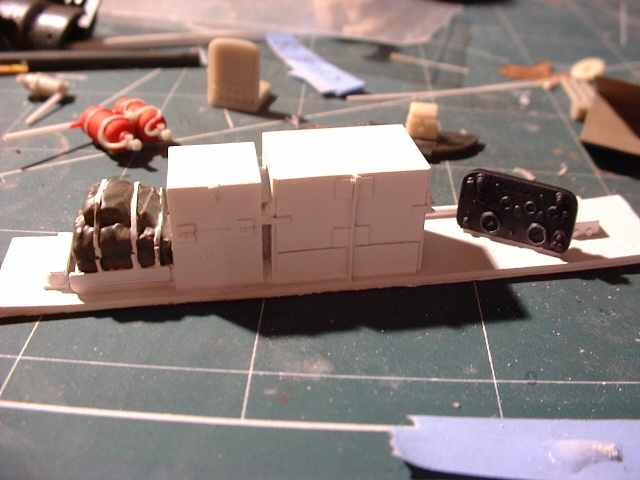
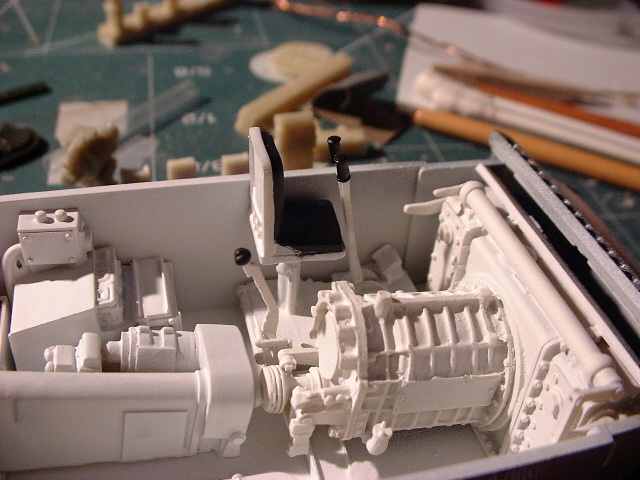
Heres the resin transmission that will be added.

click to enlarge

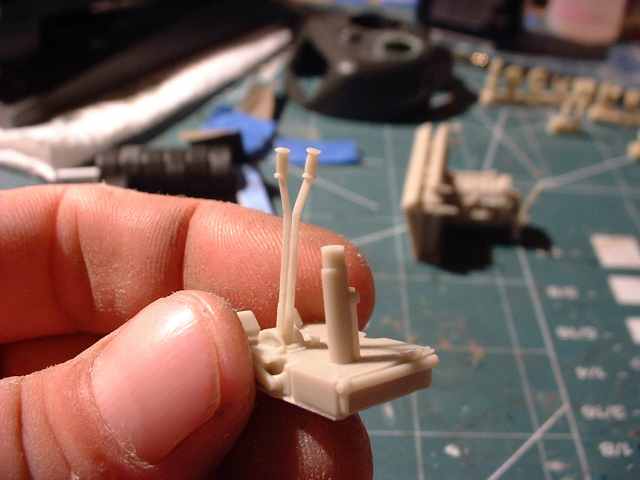
Heres the steering system.

click to enlarge

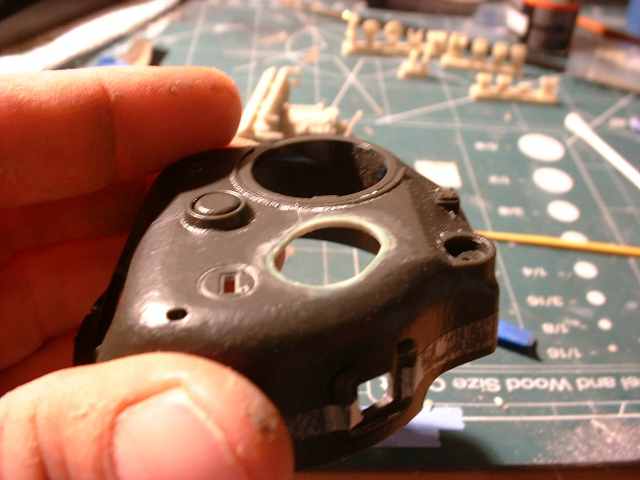
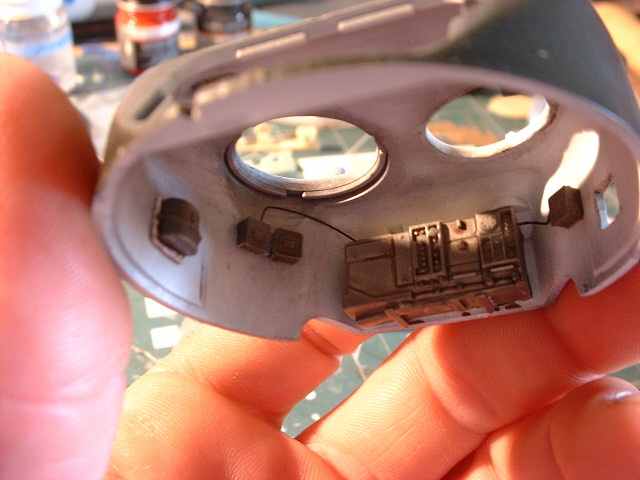
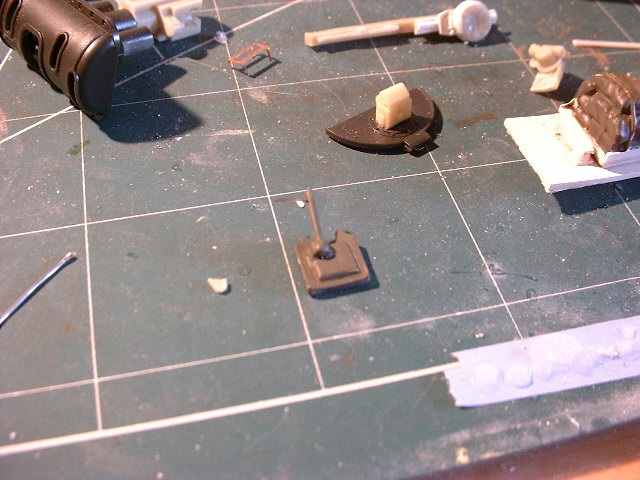
Here im adding a new resin hatch.

Enter content here

.50 Cal. machine gun. I painted it in a base coat of flat black, then put a final coat of flat black with some silver mixed in, to give it the gun metal look they have, then dry brushed silver to highlight.

The front view of the fenders. The right fender is a little off kilter but its good enough.

I messed up doing this right sprocket. I didnt put the polly cap inside, that would make it turn. So I had to glue the sprocket to the sprocket plate.

click to enlarge

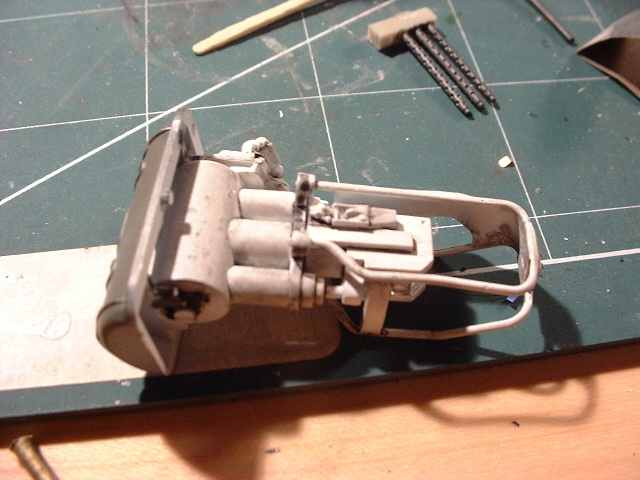
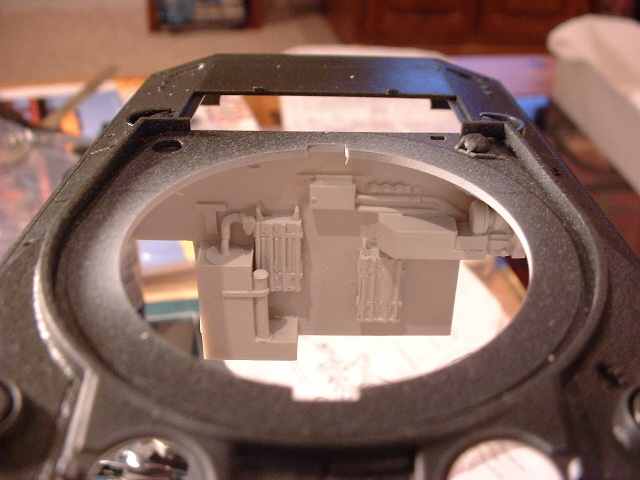
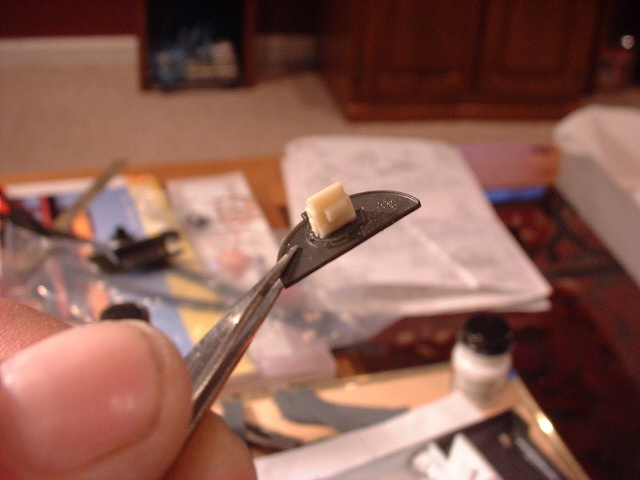
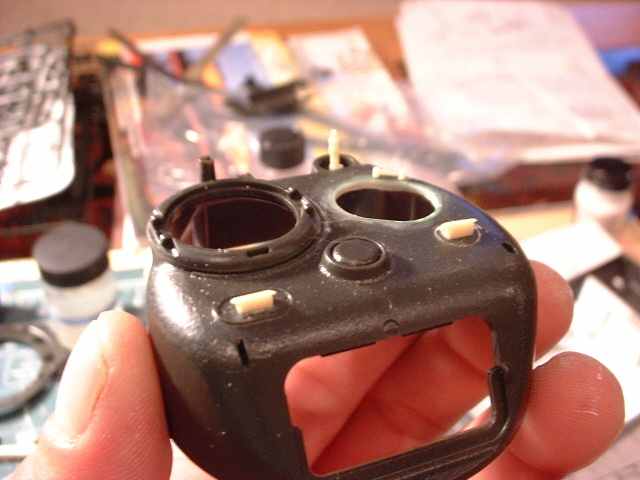
(above) The gun breach and housing. I painted two coats of flat white, dry brushed a little silver and painted the inside of the breach with chrome silver. I then used a wash of Winsor and Newton's black and brown and washed the housing area.

click to enlarge

Here I have the left side sponson painted in its base coat of flat white.

click to enlarge

Heres the resin interior added and all painted in the base coat.

Enter content here

click to enlarge

This is looking down into the interior. I have the fire wall painted in its base coat of flat white

click to enlarge

Heres a top view of all the interior added and painting in its final coat of Flat white.

click to enlarge

The drivers panel is painted here along with the equipment packs. These were painted in olive drab (ana 613).

click to enlarge

The painting is complete with a final coat of flat laquer. I applies a wash of flat black and dark brown to the appropriate areas. After that was dry, I added pastels. Black,brown and off white. I applied then a final coat of flat laquer to seal it all in.

click to enlarge

The inside turret with the washes and pastels added. I used stretched sprue for the cables on the intercom box's.

click to enlarge

Here is the resin periscope added to the commanders hatch.

click to enlarge

Here Ive added the two resin periscopes.

click to enlarge

Right side of transmission. The drivers seat has been painted Black semi-gloss.

click to enlarge

The three L shaped braces are in place. These help support the wire cage that will wrap around the turret floor.

click to enlarge

The firewall washed and pastels addes.

click to enlarge

Heres the left sponson finished in the wash and pastels.

click to enlarge

Heres the shell ejection hatch. I cut the hatch out, and made the handels with small styrene rod, then painted it in the overall final coat of Olive drab.

(Below) Heres the two tracks painted overall Flat black. The I painted each link on them in Italian Dk. Brown. Talk about time consuming! No wonder this is what most tank modelers dread.

click to enlarge